
In this article
Introduction
Creating a 3CX Extension
Click “Add” on the Extensions screen. A welcome email will be sent to the new extension which will contain information on downloading the 3CX client and the attachment for auto provisioning.
Editing an Extension
Double click on the extension you wish to edit.
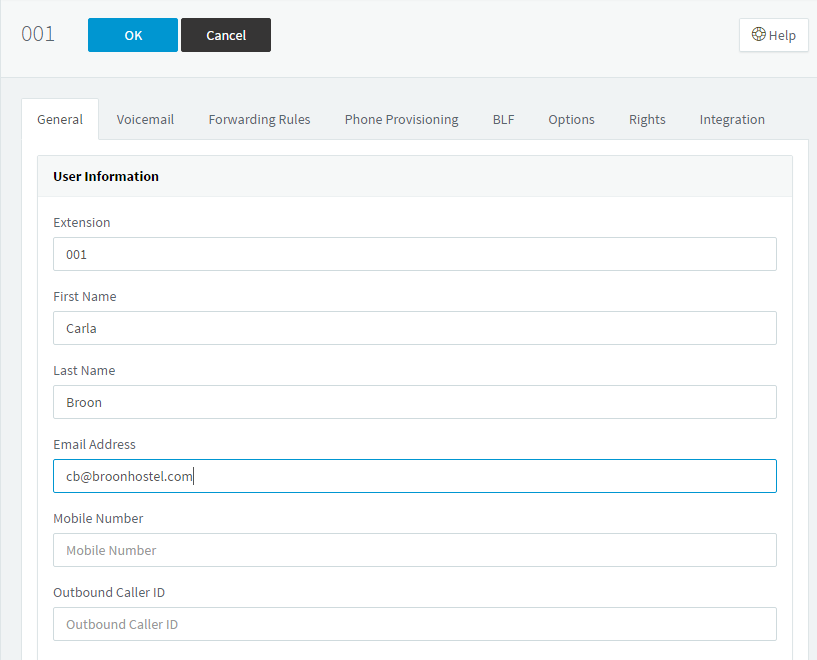
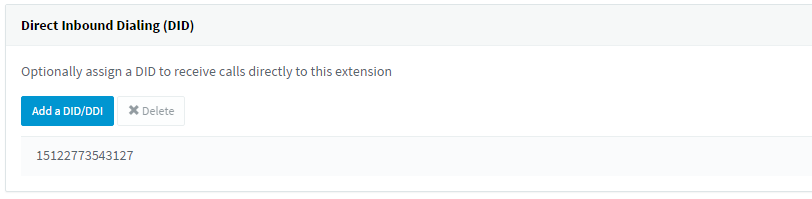
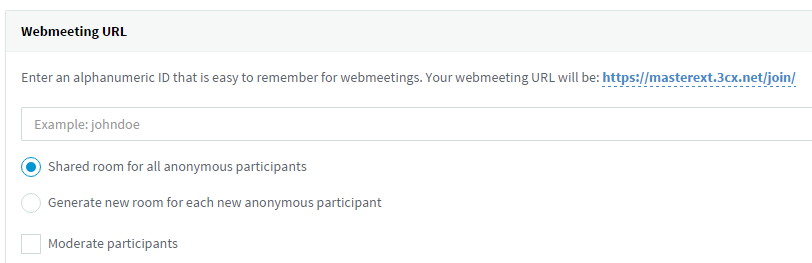
General
Voicemail

This tab allows for configuration of the 3CX extension users voicemail preferences, including:
- Enabling, disabling and setting a voicemail PIN number
- Enabling or Disabling email notifications
- Whether to read date/time or caller ID
Manage Voicemail Greetings
Record personalised voicemail greetings directly from your phone, add a pre-recorded message and manage your greetings from this section.
Forwarding Rules
These rules can be defined based on the time, caller ID, user status and whether the call is coming from an internal or external source.
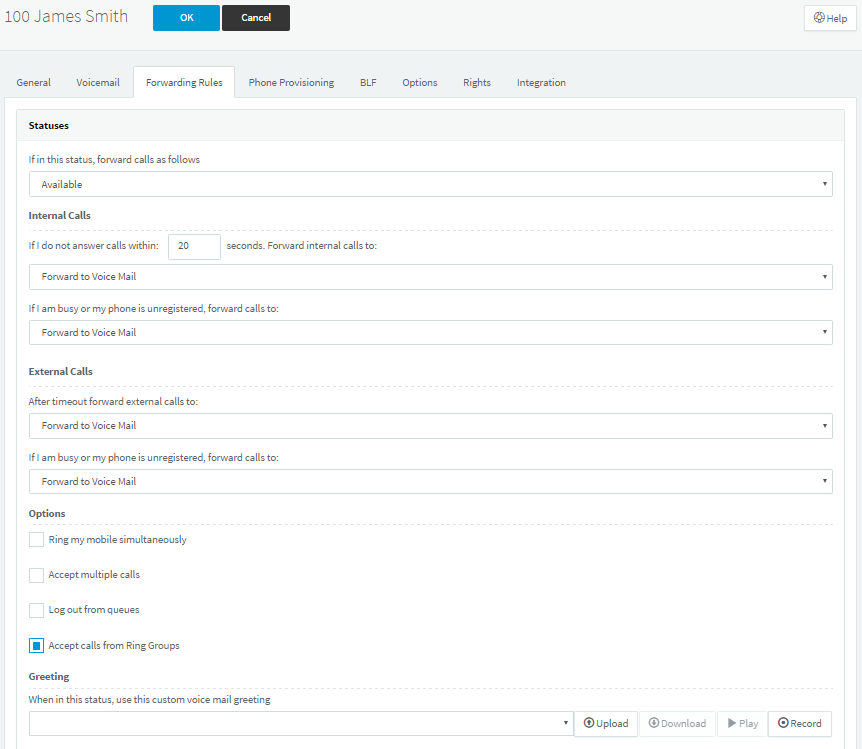
The status forwarding options available are:
- Call users mobile simultaneously
- Automatically logout the user from queues
- Accept calls from Ring Groups
- Forward internal/ external calls to:
- Voicemail
- Mobile
- Another extension
- Another number
- End call
Auto Switch Status
The Auto Switch features changes a users status based on specific office hours for that user. These hours can be configured by clicking “Configure”.
Exceptions
The Exceptions feature allows you insert a caller ID, the time in which the exception will occur, and the desired action of the exception.
Provisioning
BLF (Busy Lamp Fields)
On the page displayed below, you are able to configure BLF lights on an IP Phone as well as a 3CX client.
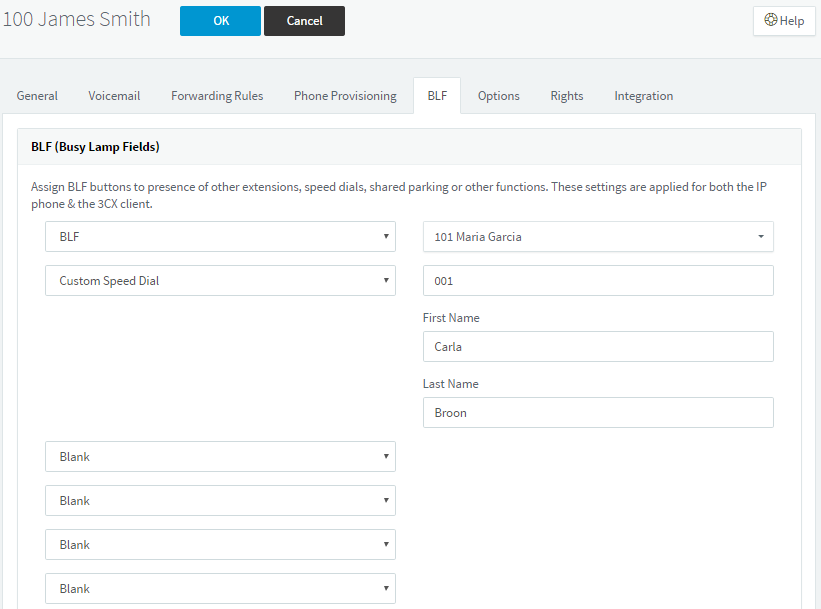
Options available for 3CX BLFs are as followed:
- BLF – Presence information
- Speed dial & custom speed dial
- Shared parking
- User login & log out
- Changing presence status
Options
Restrictions
Set advanced options relating to extension restrictions:
- Disable extension
- Disable external calls
- Only allow outbound with use of a PIN
- Disallow registrations from outside of the network (IP Phones)
- Block remote tunnel connections
- Block outbound calls outside of office hours
Options
Configuring general options related to the extension:
- Record all calls
- Screen calls
- Email notification of missed call
- Hide from 3CX company phonebook
- Allow user to organise 3CX Webmeeting video conferences
- SIP ID – set up a SIP ID
Rights
Configuring rights in a group
- Select the group from the “Group Membership” drop down
- Select what role the extension will have in that group
- Modify extension rights:
- Can see group members
- Can see group calls
- Show presence to group members
- Show calls to group members
- Divert, transfer, take any active call to group members
- Can connect to, listen to or whisper in to calls made by any group member
- Intercom
- Control IVR
- Manage company phonebook
- One rights have been chosen for that particular extension, select “OK” and restart the 3CX client.
Delegating Management
Staff permissions can be decided on by department heads, administrator or management, but that’s up to your company structure.
Granting Granular Access
Enable option “Allow access to 3CX Management Console”.
In the 3CX Extensions Management section, select the level of permission you want to grant:
- Manage own extension
- Manage extensions in specific group
- Manage all extensions
“System Management” options allow configuration of what a user can see and edit:
- Administer SIP trunks
- General System Administration
- Generate call reports
- Download call recordings
Managing 3CX Clients
Network
- If your server has multiple network cards, you can select which network the client will connect to
- Preferred SIP transport
- RTP Modd
- DTMF Mode
- Enable PUSH for smarphones
- Re-provision on startup
- Use 3CX Tunnel for remote connections
Preferences
- Default view – Dial pad or presence information
- Call control – Softphone or IP Phone
Access
- Block use of 3CX client
- Hide forwarding rules
- Show call recordings
- Allow deletion of recordings
Codecs
- Select Codec priority
In order to use these settings, follow these steps:
- Select “Extensions” from the management console
- Select the extension to be edited and select “Edit”
- Navigate to the “Phone Provisioning” tab and select the 3CX client from “Your Phones” drop down menu
- Select “OK” when finished configuring the settings above.
Learn more about audio & video codecs
Integration
Click here for more information on CRM and Helpdesk integration.
[3cx-clicktotalk id="29505" title="AatroxComms"]
